Flying with IndiGo? Skip the airport queues with IndiGo's web check-in feature.
Whether you are a seasoned flyer or boarding a plane for the first time, IndiGo's online check-in is one of the simplest ways to make your travel day smoother. As India's largest airline, IndiGo has made web check-in not just a convenience but a mandatory requirement for most passengers. With your boarding pass downloaded in advance and your seat already locked in, you can walk into the airport with ease. Here is everything you need to know about completing your IndiGo web check-in.
What is IndiGo Web check-in?
IndiGo web check-in allows you to complete your check-in formalities online, either through the GoIndiGo website (goindigo.in) or the IndiGo mobile app, without having to visit the airport check-in counter. Once done, you can select your seat and download your boarding pass straight to your phone or print it at home. It is free of charge, quick and available well in advance of your flight.

When can you web check-in?
Timing is everything when it comes to web check-in, so keep these windows in mind:
Domestic flights: Web check-in opens 48 hours before departure and closes 60 minutes before scheduled departure.
International flights: Web check-in opens 24 hours before departure and closes 75 minutes before scheduled departure.
Missing the check-in window means you will need to check in at the airport counter, so it is best to do it the night before or even two days prior if you are flying domestically.
What you will need
Before you begin, keep these handy:
Your PNR (Passenger Name Record) or Booking Reference Number — this is the unique alphanumeric code found in your booking confirmation email.
Your last name or the email address used at the time of booking.
A valid government-issued photo ID (Aadhaar card, PAN card, passport, voter ID etc.) — you will need this at the airport even after web check-in.
Step-by-step: How to complete IndiGo web check-in
Step 1: Visit the GoIndiGo website or app
Go to www.goindigo.in on your browser, or open the IndiGo mobile app on your phone. Click on the "Check-In" tab at the top of the page, or navigate directly to goindigo.in/web-check-in.html.
Step 2: Enter your details
You will see a simple form asking for your PNR/Booking Reference and your last name or email address. Fill these in and click the "Check-In" button to proceed.
Step 3: Select your passengers
If your booking includes multiple passengers, you can check in for all of them in one go — up to 9 passengers per PNR.
Step 4: Choose your seat
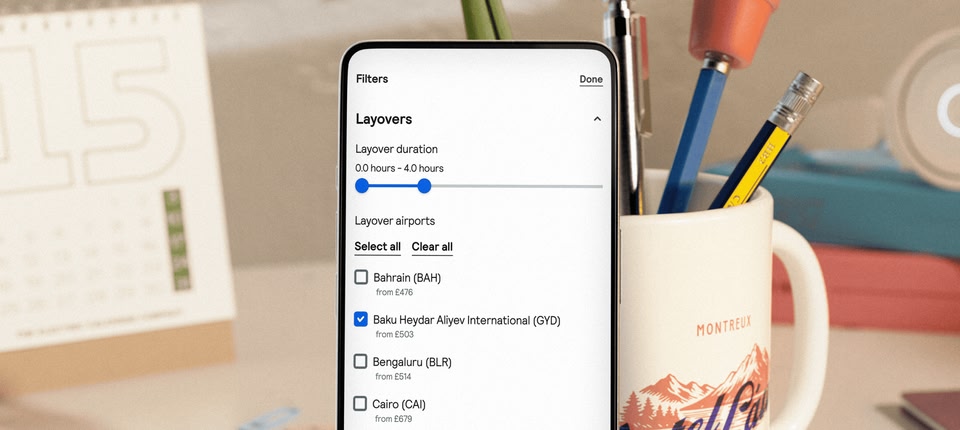
This is the fun part! IndiGo lets you pick your preferred seat from the available options on the aircraft. Do note that certain seats such as those with extra legroom or seats near emergency exits may carry an additional charge. If you would rather not pay extra, simply skip seat selection and IndiGo will assign you a seat automatically.
Step 5: Review baggage information
Before confirming, take a moment to go through IndiGo's baggage policy. For domestic flights, the standard allowance is 15 kg of check-in baggage (1 piece) and 1 hand bag up to 7 kg with dimensions not exceeding 115 cm (L+W+H). You can also generate your baggage tag online during this step, which helps speed things up at the airport.
Step 6: Download your boarding pass
Once check-in is confirmed, your IndiGo boarding pass will be generated. You can download it to your phone, save it to your wallet app or print it out. It is a good idea to email it to yourself as a backup too, just in case.
How to check in via the IndiGo App
The IndiGo mobile app (available on Android and iOS) mirrors the web check-in experience perfectly. Download the app, log in or enter your booking details, and follow the same steps outlined above. Your mobile boarding pass can be scanned directly at the airport, no printout needed.
IndiGo also offers an Auto Check-In feature. With this, IndiGo automatically checks you in and emails your boarding pass 12 to 6 hours before your flight departure.
Who cannot use web check-in?
According to IndiGo's official policy, the following passengers are exempt from mandatory web check-in and must check in at the airport counter:
Unaccompanied Minors (UNMR)
Passengers with a medical case (MEDA)
Quick tips for a hassle-free IndiGo Web check-in
Check in early: The best seats go fast, especially on busy routes like Delhi-Mumbai or Bengaluru-Hyderabad.
Save your boarding pass in multiple places: Phone, email and a screenshot are good backups.
Double-check your name on the boarding pass matches your ID exactly.
Verify state-specific travel regulations if applicable — IndiGo's check-in page has a link to state-wise rules under the "State-wise regulations" section.
Generate your baggage tag online to minimise time at the airport bag drop counter.
FAQs about the Indigo Airlines web check-in
Information in this article is based on IndiGo's official website (goindigo.in) and is accurate as of March 2026. Always check the GoIndiGo website for the latest updates before your travel date.Share